Using DreamBot
Warning
This guide expects Java and DreamBot to already be downloaded and installed. Please view Getting Started before continuing here.
DreamBot Launcher
After downloading the DreamBot launcher (Launcher.jar), run it by double clicking it.
Tip
If the launcher doesn't open, make sure you've installed Java. If it's still not working, and you're on Windows, try downloading and running JarFix.
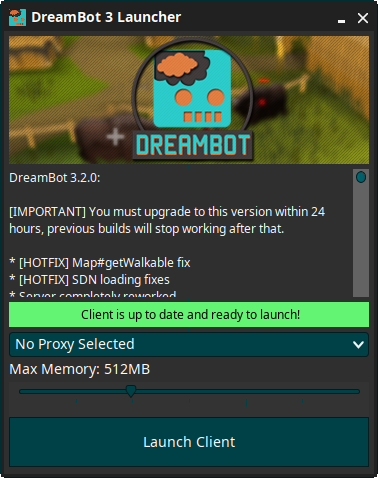
The launcher will download and keep the DreamBot client up to date. The client will not update itself, so run the launcher before every start.
DreamBot Changelog

You'll find recent changes to the DreamBot client here. A more detailed changelog for each update can be found on the forums.
Client Status

This will check to see if the DreamBot client needs to be updated and show you progress as it downloads.
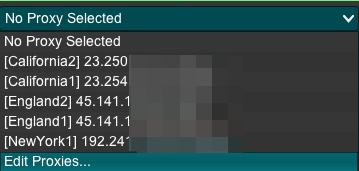
Proxy Selector
Danger
Normal HTTP IPv4/IPv6 proxies are not supported. All proxies must be of the SOCKS type (SOCKS4 and SOCKS5).
Proxies are essential if you want to hide your home IP address. Make sure this is a SOCKS4 or SOCKS5 proxy, as HTTP proxies don't proxy the game.
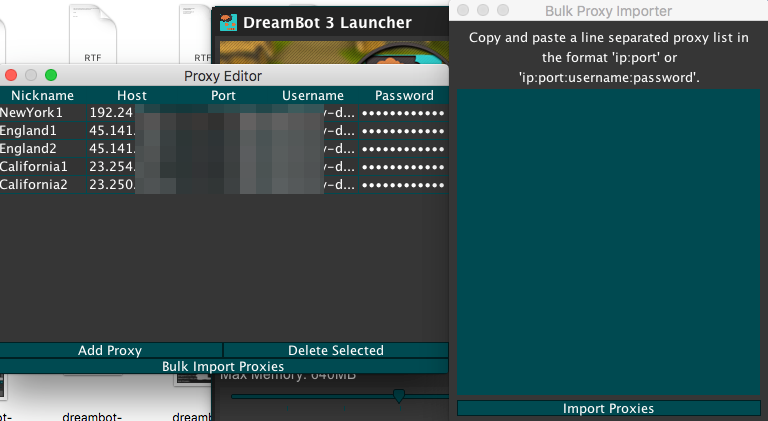
Click on the proxy selection box then click Edit Proxies to open the Proxy Editor Window.
Proxies can be manually entered or bulk imported in the format of ip:port or ip:port:username:password, separated
by a line break.
Memory Settings

This will limit how much memory the DreamBot client can use.
You can adjust this from 256 Megabytes to 1024 Megabytes.
Launch Client

Press this button to launch the DreamBot client.
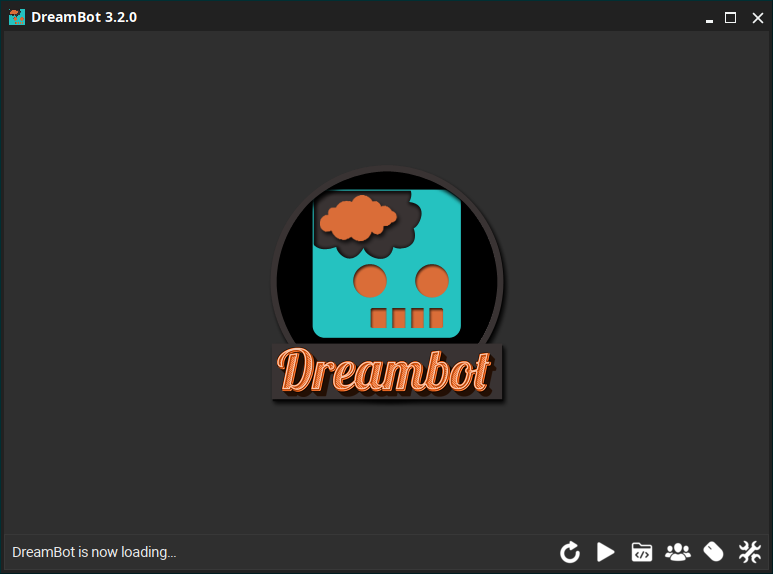
DreamBot Client
Login Popup
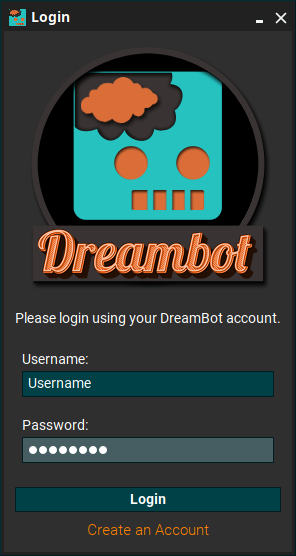
You'll need to login before you can start botting. Make sure to use the same username and password as you used when creating your account on the forums.
Warning
You cannot use the email on your account, it must be the username you log in with. If you don't have an account yet, please create an account.
Title Bar

The title bar shows useful information about the current state of the client, and includes the proxy (if selected), the current account, and the script that's running.
Account Manager
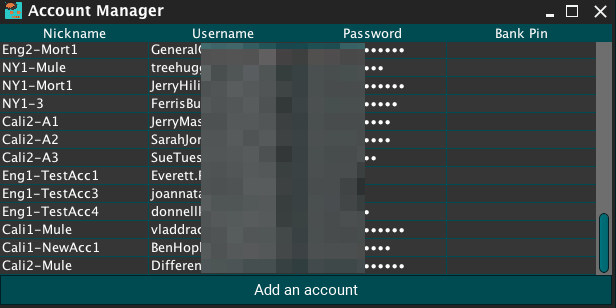
Use the Account Manager to securely store your game accounts to allow the client to log you in. Accounts can be manually added and deleted (right click or delete key). If you want to bulk import accounts please see Hashtag's Mass Accounts script.
Script Manager
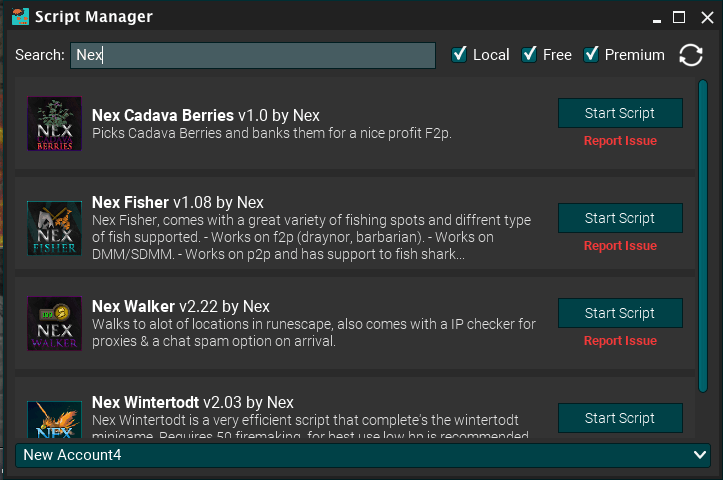
This is where you can see all your local, free, and paid scripts. This is also where you can select an account to use with a script.
Client Settings
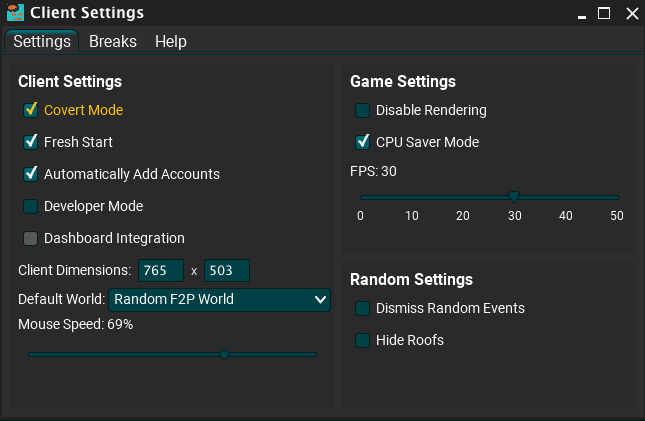
This is where you can access settings, breaks, and help resources. You can hover over settings in this window to get a tooltip message for more information.
Breaks
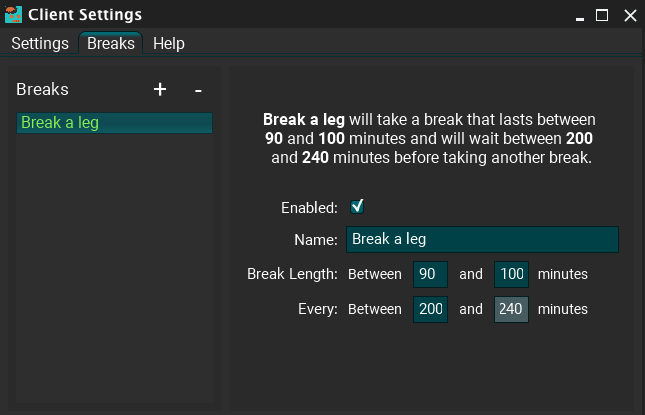
Here you can create, remove, enable, and change the breaks that the client will use when a script is running.
Fly under the radar with less time played.
Control Bar
Restart / Start Script Buttons

The Restart button will stop any running scripts, and reload the script that was run last.
The Start button will open the script manager so you can choose a script to run.
User Input Toggle Button

All red means you can't interact with the game client (mouse or keyboard).
Half red and half white means that only one of the inputs are blocked. You can toggle individual modes by right clicking the input button.
All white means you can interact with the game using both the mouse and keyboard.
Status Bar

In the bottom left corner of the client it shows the last status message. After the client has loaded, for example, it should say "DreamBot has started successfully!".
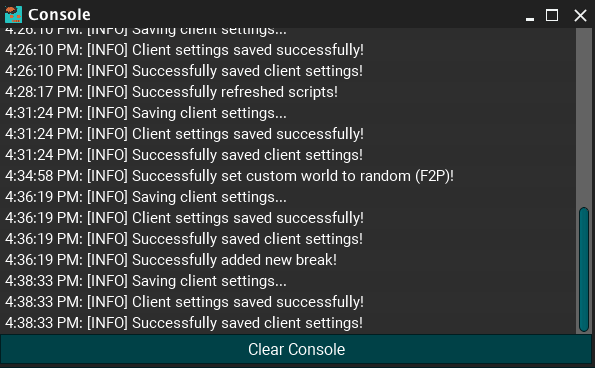
You can click the status bar to open the Console window for more:
Troubleshooting
If you need any additional help please visit the Client Support section of the forums.